Scrapbook
Scrapbooking is one of the most popular hobbies around. &nbs[;Traditional scrapbooking is done with paper, scissors, glue and other various pieces that are combined to form a page that tells a story. This story is told through graphics and a photograph that was taken to remember a moment in time. Our scrapbook tool lets visitors view any scrapbook albums page individually or in a slideshow. These steps will show you how to build your own Scrapbook.
- How do I Get to the Scrapbook Manager?
- Creating an Album
- Creating Pages in an Album
- Creating Pages in an Album - Advanced Users
How do I Get to the Scrapbook Manager?
- Click on the Admin tab.
- Click Manage Scrapbooks.

- The Scrapbook Manager window will load.
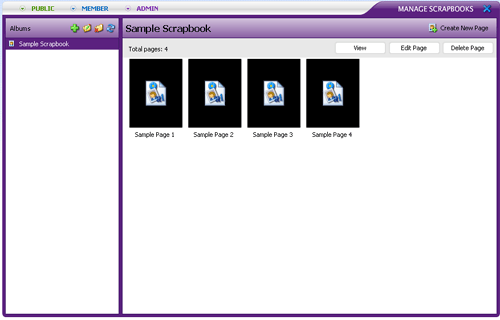
Creating an Album for the Scrapbook
- Click

- Give your new album a name and description. You can click on the cover thumbnail to the left to select a cover design for your scrapbook album.
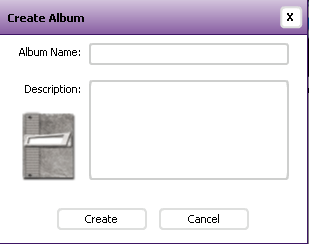
- Click Create.
Creating Pages in the Scrapbook Album - Easy Mode
- Click Create New Page.

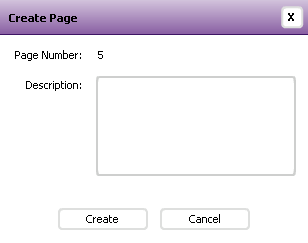
- Give your new page a name and click Create. You will then be redirected to the Easy Page Creator
- The first step to creating your new page is to pick a pre-designed template to the right. You may flip through template pages with the left and right arrows at the top.
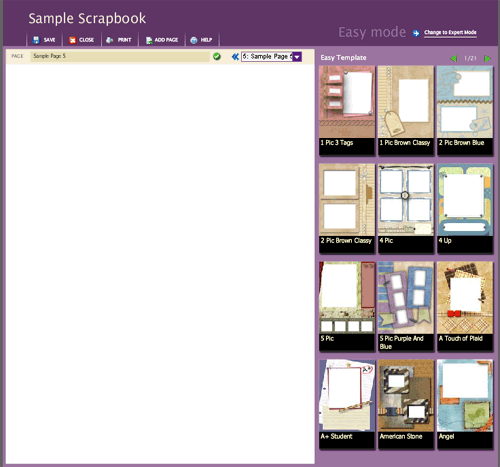
- When you find a template that you would like to use, click on that template to load it into the editor.
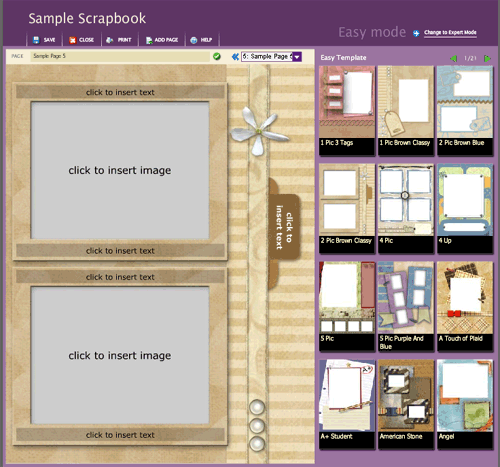
- Now that you have loaded a template, you will have the option to add an image or text into your new page. Each template will offer a different number of image and text areas.
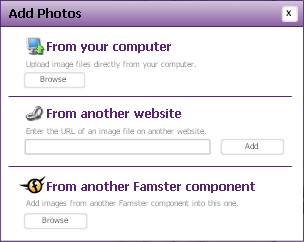
- Click on the area that says Click to Insert Image and you will get a window allowing you to select from your current images or upload a new image.
- There are three locations an image can be added from:
- If the image is on your computer, click the first Browse button to find and upload the image

- If the image is from another website, type the full URL of the image, and click Add

- If you have already uploaded the desired image to another Famster component, click the final Browse button to find the image

- If the image is on your computer, click the first Browse button to find and upload the image
- After choosing an image, you will be given another window to change image properties
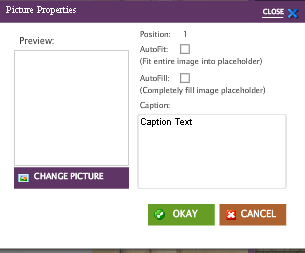
You can choose to Place/Rotate the image after it is selected by using the arrow or squares around the image. If you do not like the selection that you have made, you can also delete the image from the page using the Delete button. You will be asked to confirm the deletion in case you made a mistake.
- Adding text to your scrapbook page is simple; by clicking on the text area, you will get a menu to edit the text.
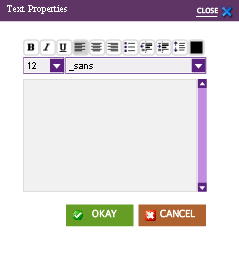
- Click Edit/Change to type in your own text and set the formatting to your preference.
- After adding your new text, you can drag the text to place it where you like in the designated area.
- If you are happy with the image and text that you have added, you can save your changes using the Save button on the left side of the editor
Creating pages in the scrapbook album - Advanced Users
If you would like more control over the appearence of your scrapbook pages, you may want to try using Expert Mode:
- Click on Create Page at the top of the scrapbook interface.

- Give your new page a description and click create page. You will then be redirected to the Easy Page Creator.

- Choose an Easy Page template if you would like, then click Change to Expert Mode in the upper right.

- This will open up the Expert Mode interface.
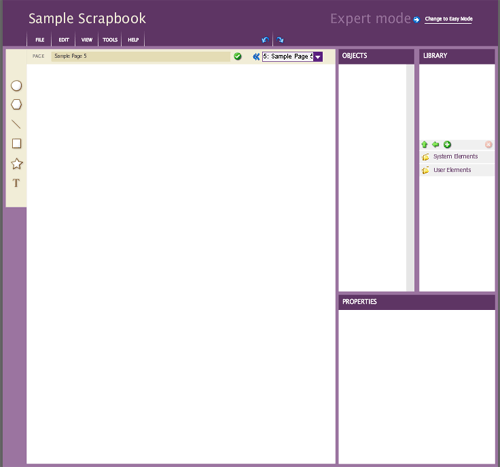
- On the left side will be a set of Object Buttons
- The
 button will add a circle to the page.
- The
 button will add a polygon to the page, allowing you to choose a number of sides from 3 to 20.
- The
 button will add a line to the page.
- The
 button will add a rectangle to the page.
- The
 button will add a star to the page, allowing you to choose the number of points.
- The
 button will allow you to add text to the page.
- When you add a non-text element from this list, you will be offered the choice to customize the appearence of your new element, including color, transparency, and border thickness.
- Once an object is on the page, you can double-click it to select it, and then drag it to the desired position on the page.
- The
- On the right side will be three sections:
- The Objects section will list all objects on the current page, with the options to Hide, Rename, or Delete. You can select an object on the page by clicking its name You can also resort the objects by clicking on the name of an object and dragging it to a different place on the list.
- The Library section will let you browse through your available images. You can add an image to the page by double clicking it.
- The Properties section will let you adjust the size (in pixels), position, or angle of the selected object. You can also adjust the color, transparency, or border .
- In the Tools menu, there is an option for Add Photos. This will let you browse and download your images, as well as upload or new images
- When finished, you can save your page in the File menu.
